 STITCH ROUND
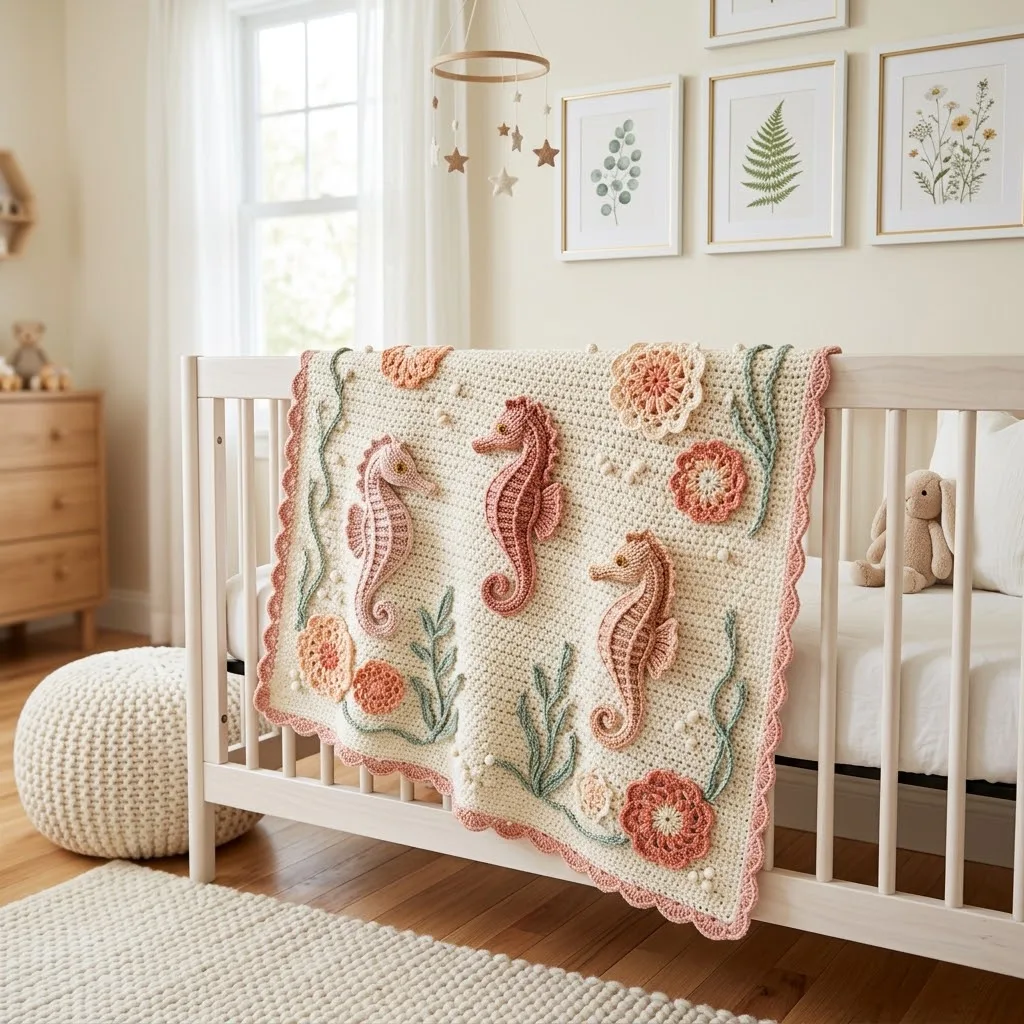
 Seahorse appliqué baby blanket crochet pattern in blush pink
Work 7 rounds for the base blanket plus coral and sage appliqués in this seahorse baby blanket pattern.
- Skill
- Intermediate
- Rounds
- 20 rounds
- Yarn weight
- Worsted
- Hook
- 5.0 mm
- Time
- 10-14 hours

Intermediate
What the original page called it. Nothing here is graded a second time.

20 rounds
Each one gets its own line, with a box beside it to tick as you go.

Worsted
What the sample was made in. Any weight works — the size moves with it.
About this pattern
This is a cream base blanket dressed up with coral seahorses, flowers, and seaweed. The seahorse body alone ticks off 7 rounds, and the belly curve, neck section, and snout each add their own short rounds on top of that. Working the appliqués as separate pieces means the whole project breaks into manageable sessions instead of one long sitting.
Shaping lives in the seahorse pieces: the belly curve carries increases and decreases across 4 rounds to get its signature arch, while the neck section and snout each taper over 2 rounds to a narrower point. Slow down through those shaping rounds and through the blanket border, where 3 sc in each corner keeps the whole piece lying flat.
- The base blanket starts with a foundation row and builds up through many base rows before the edging begins.
- A single crochet border rounds the entire blanket, with extra stitches placed in each corner to keep it flat.
- Each seahorse body is worked on its own, then the belly curve, neck, and snout add shape before the tail is sewn and curled into place.
- A flower comes together from a magic ring center, with petals and a contrasting center disc worked separately and joined.
- Seaweed pieces and small leaf clusters are worked quickly as standalone bits to scatter across the finished piece.
- Every appliqué gets pinned into a suggested layout and stitched down once the base blanket is complete.
What goes wrong
- Skipping the corner stitches Missing the extra sc in each blanket corner pulls the border in and ripples the edge. Count the corner stitches deliberately and keep the stitch count steady along each side.
- Leaving the magic ring loose A magic ring that isn't pulled tight after the first round lets stitches drift and leaves a visible hole. Cinch the ring closed right after working the first set of stitches into it.
- Cutting sewing tails too short Short tails on the tail piece and other appliqués make it hard to sew them down later. Leave a generous length when fastening off anything meant for attaching.
- Rushing the belly curve shaping Misplaced increases or decreases in the belly curve flatten the seahorse's characteristic arch. Work each shaping stitch where it belongs and check the curve against the piece before continuing.
Yarn, hook and the rest
Copied from the source pattern's own materials list.
- Cream/Off-White (Main Color A): 800 yards for base blanket
- Blush Pink/Dusty Rose (Color B): 300 yards for seahorses and border
- Coral/Peach (Color C): 150 yards for flowers and seahorse details
- Sage Green (Color D): 100 yards for seaweed and leaves
- Light Peach (Color E): 50 yards for flower centers
- 5.0mm (H/8) crochet hook for base blanket
- 4.0mm (G/6) crochet hook for appliqués
- Tapestry needle for weaving ends and sewing appliqués
- Stitch markers (at least 4)
- Scissors
- Rustproof pins for blocking and arranging appliqués
- Small amount of fiberfill for slight seahorse dimension (optional)
Progress tracker
0 of the 20 rounds on this page are ticked.
The pattern, round by round
Kept in the order and the wording the source used. Tick a round as you finish it; the ticks stay on this device.
Body Section
Ch 7.
Round 1
Sc in 2nd ch from hook, sc in next 4 ch, 3 sc in last ch. Working along opposite side of foundation chain, sc in next 5 ch. (13 sts)Step by step: Join yarn in any corner with a sl st.Ch 1, work sc evenly around entire blanket. Place 3 sc in each corner. Aim for approximately 120 sc along short sides and 160 sc along long sides. Adjust as needed to keep edges flat.Step by step: Sl st to first sc to join.
Round 2
Ch 1, turn. Sc in first 5 sts, inc in next 3 sts, sc in last 5 sts. (16 sts)Step by step: Ch 1, sc in each st around, placing 3 sc in center corner stitch. Sl st to join.
Round 3
Ch 1, turn. Sc in first 6 sts, inc in next st, sc in next 2 sts, inc in next st, sc in last 6 sts. (18 sts)*Skip 2 sts, 5 dc in next st (shell made), skip 2 sts, sl st in next st.* Repeat from * around, adjusting at corners to maintain pattern.Step by step: Sl st to join. Fasten off. Weave in all ends.
Rounds 4–8
Ch 1, turn. Sc in each st across. (18 sts)
Round 9
Ch 1, turn. Dec, sc in next 14 sts, dec. (16 sts)
Round 10
Ch 1, turn. Dec, sc in next 12 sts, dec. (14 sts)
Rounds 11–14
Ch 1, turn. Sc in each st across. (14 sts)
Tail (worked separately and attached)
Ch 20.
Round 1
Sc in 2nd ch from hook, hdc in next 3 ch, dc in next 6 ch, hdc in next 4 ch, sc in next 4 ch, sl st in last ch. (19 sts)Fasten off leaving tail for sewing. Curl the tail into a spiral and tack in place with a few stitches.
Flower Center
Using your chosen color and 4.0mm hook, make a magic ring.
Round 1
Ch 1, 6 sc into ring, sl st to first sc to join. Pull ring closed. (6 sts)
Round 2
Ch 1, inc in each st around, sl st to join. (12 sts)
Tall Seaweed
Ch 31.
Round 1
Working in BLO, sc in 2nd ch from hook, *hdc in next 2 ch, dc in next 2 ch, hdc in next 2 ch, sc in next 2 ch.* Repeat from * across, ending with sc in last ch.The back loop only technique creates a natural curl.Fasten off.
Petals
Round 3
*Ch 3, dc in same st, dc in next st, ch 3, sl st in same st, sl st in next st.* Repeat from * around. (6 petals)Fasten off leaving tail for sewing.For added dimension, use Color E to add a contrasting center. Work 6 sc into a magic ring and sew to flower center.
Belly Curve
Round 15
Ch 1, turn. Sc in first 10 sts, leave remaining 4 sts unworked. (10 sts)
Round 16
Ch 1, turn. Dec, sc in next 6 sts, dec. (8 sts)
Round 17
Ch 1, turn. Dec, sc in next 4 sts, dec. (6 sts)
Rounds 18–20
Ch 1, turn. Sc in each st across. (6 sts)
Neck Section
Round 21
Ch 1, turn. Inc, sc in next 4 sts, inc. (8 sts)
Rounds 22–26
Ch 1, turn. Sc in each st across. (8 sts)
Snout
Round 33
Ch 1, turn. Dec, sc in next 2 sts, dec. (4 sts)
Rounds 34–38
Ch 1, turn. Sc in each st across. (4 sts) Fasten off leaving a long tail for sewing.
Foundation
Step by step: Ch 1, turn. Inc, sc in next 6 sts, inc. (10 sts); Ch 1, turn. Sc in each st across. (10 sts).
Ch 121.
Row 1
Sc in 2nd ch from hook and in each ch across. (120 sts)
Turn your work at the end of every row.
Row 2
Ch 1 (does not count as stitch here and throughout), sc in each st across. (120 sts)
Rows 3 through 160
Repeat Row 2.
Yes, this is a lot of rows. Put on a podcast or audiobook. The repetition becomes meditative.
Tip: Place a stitch marker at the beginning of Row 1 to mark the right side of your work. This helps when attaching appliqués later.
Checking Your Progress
At Row 80, your blanket should measure approximately 18 inches long. At Row 160, approximately 36 inches.
Fasten off. Weave in ends.
Set your base blanket aside while you create the appliqués.
Dorsal Fin Ridge
Using Color C (Coral), ch 15.
Working in BLO only: sl st in 2nd ch from hook, sc, hdc, dc, hdc, sc, sl st, sc, hdc, dc, hdc, sc, sl st, sc.
Fasten off. This creates a wavy ridge. Sew along the seahorse’s back.
Eye Detail
Using tapestry needle and a small amount of cream yarn, embroider a French knot or satin stitch circle for the eye. Add a tiny black or dark brown dot if desired.
Medium Seaweed
Ch 21. Work Row 1 as above.
Fasten off.
Small Leaf Clusters (Make 4)
Ch 8. Sl st in 2nd ch from hook, sc, hdc, dc, hdc, sc, sl st. This creates one leaf. Make 2-3 leaves and join at base for clusters.
Join
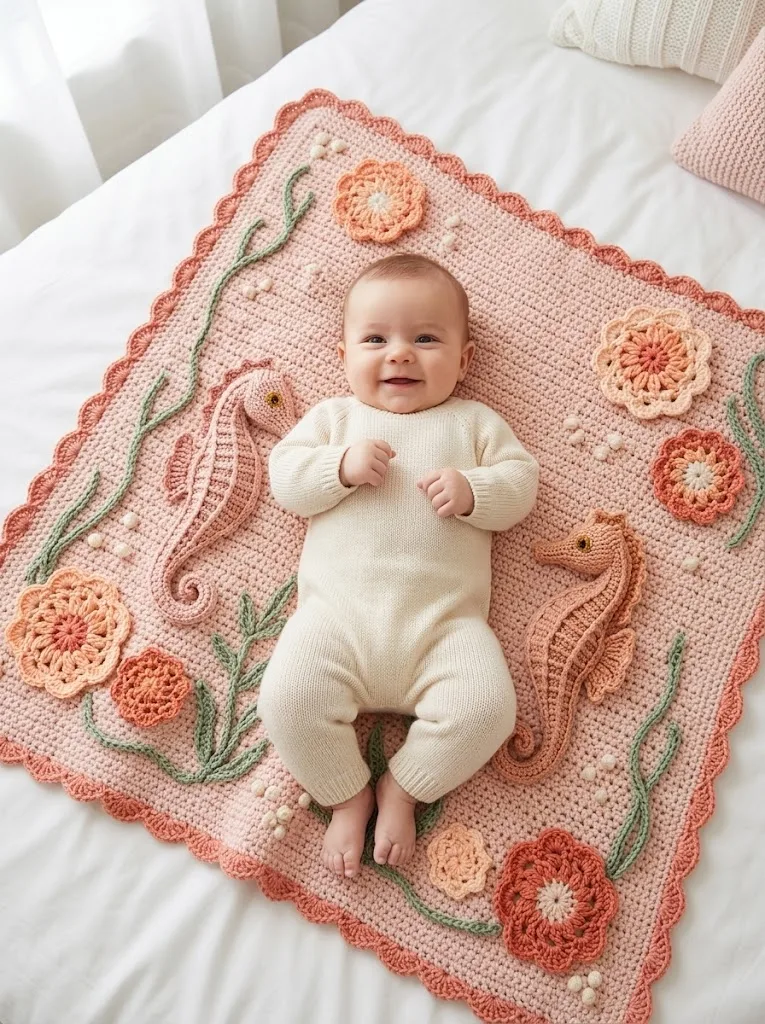
Step 1Layout: Lay your blanket on a flat surface, right side up. Arrange seahorses, flowers, seaweed, and bubbles according to the image. Use rustproof pins to hold pieces in place. Suggested placement: Three seahorses spaced evenly, one in center, two flanking Flowers clustered in upper right and lower corners Seaweed along left and right edges, some near seahorses Bubbles scattered throughout Step back and adjust until you love the arrangement.
Step 2Attaching Appliqués: Using tapestry needle and matching yarn tails, whip stitch around edges of each appliqué. Take small stitches through both appliqué edge and blanket surface. For seahorses, you may add a tiny bit of fiberfill before closing completely. This gives subtle dimension. Totally optional.
Step 3Final Touches: Weave in any remaining ends. Block your blanket if desired by wetting, pinning flat, and allowing to dry.
Check your count
- Body Section · Round 2: 16 sts
- Body Section · Rounds 4–8: 18 sts
- Body Section · Round 10: 14 sts
- Body Section · Rounds 11–14: 14 sts
- Tail (worked separately and attached) · Round 1: 19 sts
- Flower Center · Round 1: 6 sts
Finish
- Weave in every yarn tail on the base blanket and on each individual appliqué before laying anything out.
- Tuck a small amount of fiberfill into each seahorse body for a bit of dimension, if using it.
- Pin the seahorses, flowers, seaweed, and leaf clusters into place with rustproof pins, sew them down with a tapestry needle, then block the finished blanket flat.
Bigger or smaller
- Smaller
- Work fewer of the base rows through the Rows 3 through 160 section before starting the border, which shortens the blanket while leaving the appliqués unchanged.
Photographs of this one
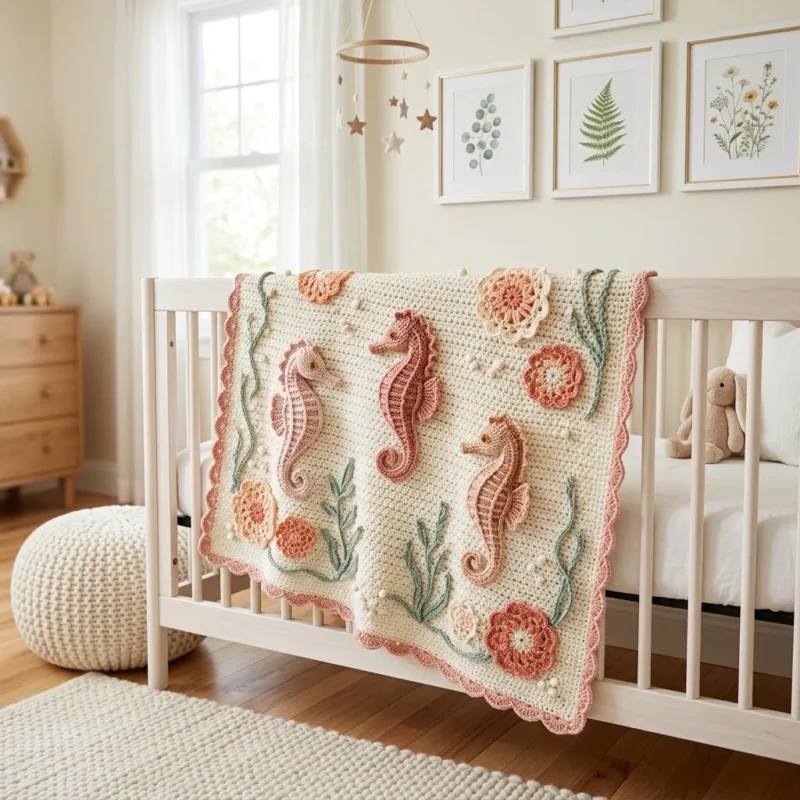
Every photograph on this page was taken by whoever published the pattern, and they are printed in the order the source listed them.
FAQs
Asked and answered
These answers came from whoever first published the pattern, kept word for word.
Can the appliqués be made ahead of the blanket?
Yes, the seahorses, flowers, and seaweed are designed as separate pieces. Make them in short pockets of free time and attach them once the base blanket is finished.
Is the fiberfill necessary for the seahorses?
No, the small amount of fiberfill is optional and only adds slight dimension to the seahorse bodies. The blanket still works fine if fiberfill is left out.
How are the appliqués attached to the blanket?
Pieces get arranged with rustproof pins according to the suggested layout before any sewing happens. A tapestry needle then secures each one permanently once the arrangement looks right.